Launching an online store is always a great idea because you can reach more clients than traditional brick and mortar establishment. At FixiPixi, we can help you to take pictures of clothes to sell professionally. Apparel photography must be done in a specific way that delivers clear product representation. We have a service about product photo editing service for you.
However, we also have some tips on how to take pictures of clothes to sell on your own. Read on to discover how you can accomplish this.
Begin by Preparing Your Clothing Properly:-
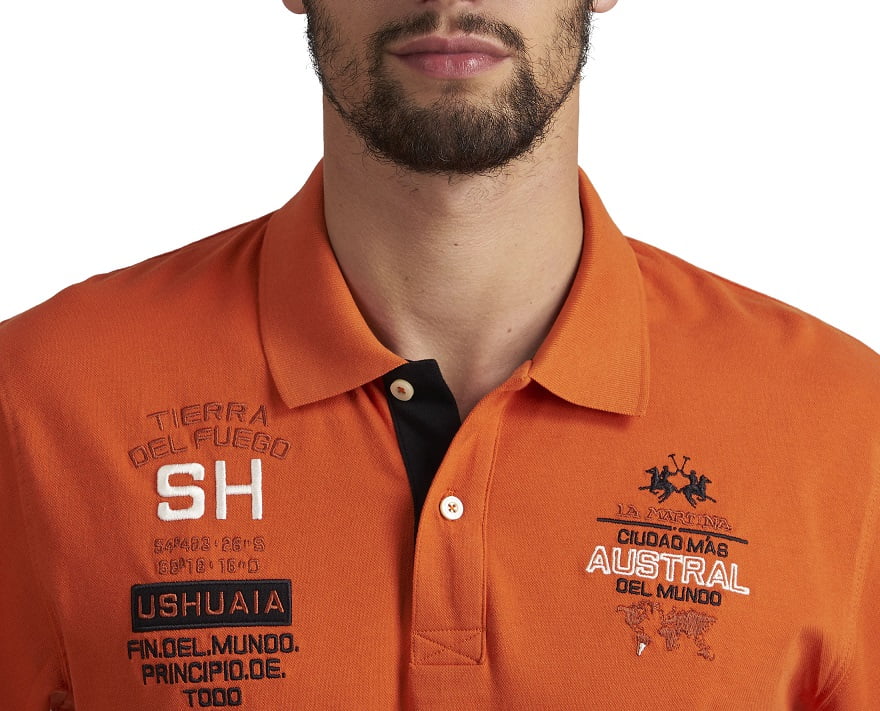
When you’re taking photos of your clothes to sell online, they must look perfect. They should be smooth, supple, and present the ideal texture. Unfortunately, the reality of life is that your garments are likely to be worn or creased due to transportation rigors. As such, it is important to prepare the clothes properly before you take photos of them for your online store.
Examine the appearance of your garment carefully from top to bottom on the inside and the outside. Check if there are any tags, labels, or identification items that need to be removed or concealed. Repair any damage by sewing the clothing and eliminating distractions using a lint roller to eliminate strings if the garment is creased or wrinkled, iron or steams it for a smooth appearance.
Create a studio for your garment photoshoot-
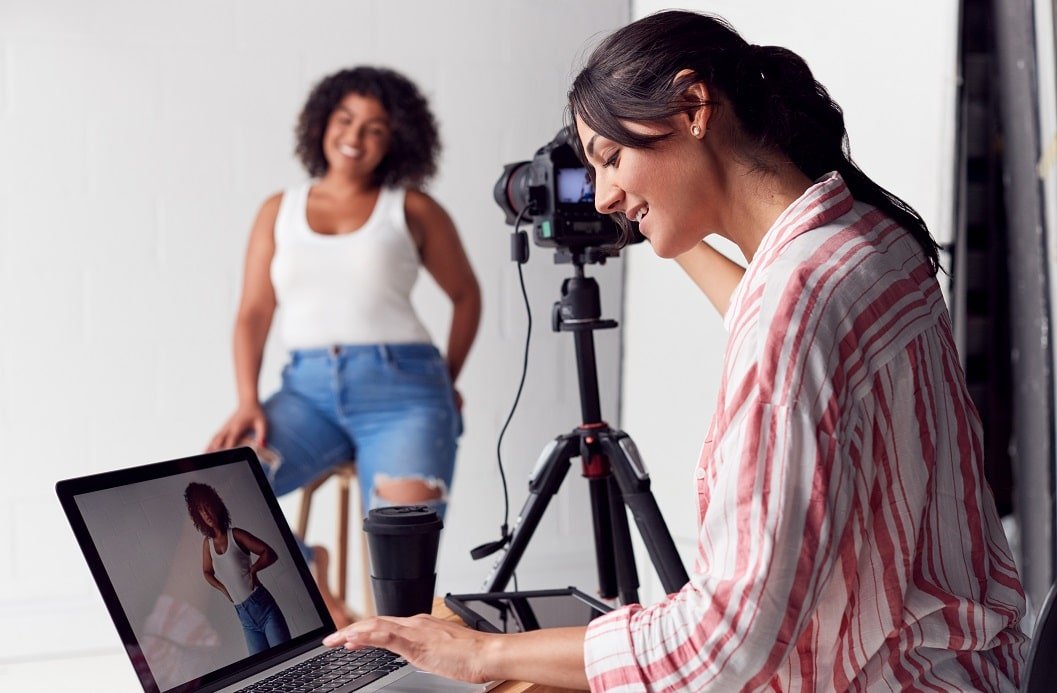
With a creative mind and some handy items, you can easily transform any room that contains ample space in your home into a photography studio. You can accomplish this using a tripod, camera, duct tape, seamless white paper, and natural light for those operating on a low budget. If you have some additional money to spend, you can construct an ideal studio for your garments by adding a C-stand, moonlight stand, and a mannequin.
Pick a white or light grey backdrop:-
As you take pictures of your garments, it is important to make sure they are easy to view. To this effect, use a white or light grey backdrop. Visit your local photography store so that you can get cheap and effective seamless rolls of white or light grey paper.
Use your C-stand to hold up the seamless paper. Clear and clean the floor underneath your studio so that the seamless paper can curve downward naturally in such a way that it eliminates any shadows and prevents creasing. Remember to fasten it to the ground using tape.
A C-stand helps you experience additional flexibility in your background positioning, giving you ample room to move around your studio. If your budget does not allow for this, you can simply tape the seamless paper to the ceiling or the wall. After setting up the backdrop, place your garment in the middle section on its own or a dummy. Make sure that it is right in front of your camera. As you take your shots, make sure to capture the colors as accurately as you can.
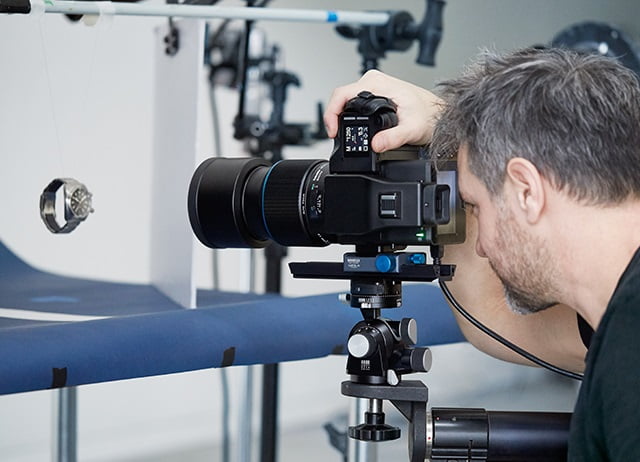
Use a high quality camera:-
As would be expected, your camera is a very important part of garment photography. You should use a DSLR camera that can take photos of up to 50 Megapixels. The camera should also have a manually-adjustable aperture and exposure settings. If you do not have access to a DSLR camera, you can use a high-quality smartphone to take the your product picture. We will share
Implement a tripod:-
While taking your garment photos, you need to use a tripod to eliminate any shakiness in the image. In addition to that, a tripod makes sure that your photos are consistent and frees up your hands to perform other tasks. Perch your camera firmly upon the tripod and place both such that they face the garment directly. During the whole photoshoot procedure, you will not move the camera and tripod. You’ll only need to change the garments.
Ensure correct, ample lighting:-
While taking photos of your garments, you should ensure ample light flowing into the studio. Natural window light is a cheap way to get great lighting for your garment photoshoot. A large window facing the East or the West should be enough for your shoot. However, it is always advisable to use an artificial lighting kit for this purpose. Good personal equipment can be made up of a light head, C-stand, softbox, pocket wizard and battery pack.
In this kit, the light head is the illuminator itself. For this purpose, you can use a mono-strobe lighthead. The softbox diffuses the light and captures your product under even rays of light that are appealing. You can use the C-stand to hold up the light head as well as the softbox around it. The pocket wizard synchronizes your camera and the light head, thus creating a secondary flash. Last but not least, the battery pack powers your camera or lightheaded if and when required.
Style your garment upon the mannequin:-
The best way to reflect your garment’s fit and appearance is by styling it on a mannequin. It presents the garment in an ideal shape and helps the shoppers to visualize themselves wearing it. A mannequin is an affordable and easy prop to work with when taking photos of clothes to sell. Feel free to tuck and pin the garment upon the mannequin until it fits perfectly.
Shoot:-
With the garment set on a mannequin directly in front of your camera, press halfway down on the shutter release button so that your camera can focus. After that, take the shot. As you proceed, change the settings of your camera, such as keeping the ISO between 600 and 640, aperture higher than f/11, and white balance to AUTO.
Conclusion
We take professional photos of garments for our clients at FixiPixi. After many years of providing the ghost mannequin service, we understand the correct way to take pictures of clothes to sell. Follow our guide above to achieve this objective. In case you need some professional assistance, contact us!